It's about exploring and sharing my creative adventures (mostly sewing these days) ~
~those activities that sometimes obsess, usually inspire, occasionally frustrate
~and always provide a delightful maze to wander through.

Wednesday, October 15, 2014

Mini Wardrobe Challenge with No Rules! (My kinda challenge...)

On a bit of an inspired whim, one of my local  sewing groups decided to do a mini-wardrobe challenge.  After some discussion about what rules to set, whether to have a "winner" & prizes, etc., we ended up deciding to hold a make-however-many-pieces-you-want-and-set-your-own-goals-and-we'll-just-support-each-other sort of event, because that's the kind of group we are.  :-)  My kind of contest!

I entered one Pattern Review mini-wardrobe contest a few years ago, and really appreciated it for a number of reasons:

  • It helped settle my mind in a work-together wardrobe mode, as opposed to a closet full of orphans. 
  • It was a stretch for me on several fronts, and I do appreciate stretching exercises.
  • The time pressure of having a finish date was a good experience - although I don't relish deadlines, I do tend to do well under pressure, and I proved that I could rise to the occasion on the sewing front if need be.  (it is not, however, something that appeals to me on a regular basis)
So, with a vague goal in mind, I set about figuring out what I wanted to do.   It actually ended up being easier than I thought it might be!

My Wardrobe Planning Process

The State of My Mind in the Beginning Steps of Planning:


We had a supportive planning meeting, and the goals and reasons that people were doing their wardrobes were as varied and individual as the members of the group (and we are a delightfully motley crew!)   Some wanted a specific travel wardrobe, some focused on expanding themselves out of their usual color-comfort zone,  some wanted more work clothes, some wanted a good-fitting pair of trousers as a start.


  • I need a new pair of jeans.   I've made 2, which are both still serviceable (one fairly, one barely), but since jeans are probably my single most-worn clothing item, I'm definitely due for another pair!  So that became my jump-off point, and once I made the decision, I didn't waver from it.
  • I also need more tops that actually go with jeans.  I know, I know, virtually anything can go with jeans, but sometimes I just want a nice blouse or shirt that actually matches my jeans, and my closet just never seems to produce just what I'm looking for.  Tons of T-shirts I have, but not much else.
  • The SF Bay Area is Jacket Central.   You simply cannot have too many jackets if you live here, and my only navy blue jacket is old, funky, and made by someone else.   My local charity gets that one.
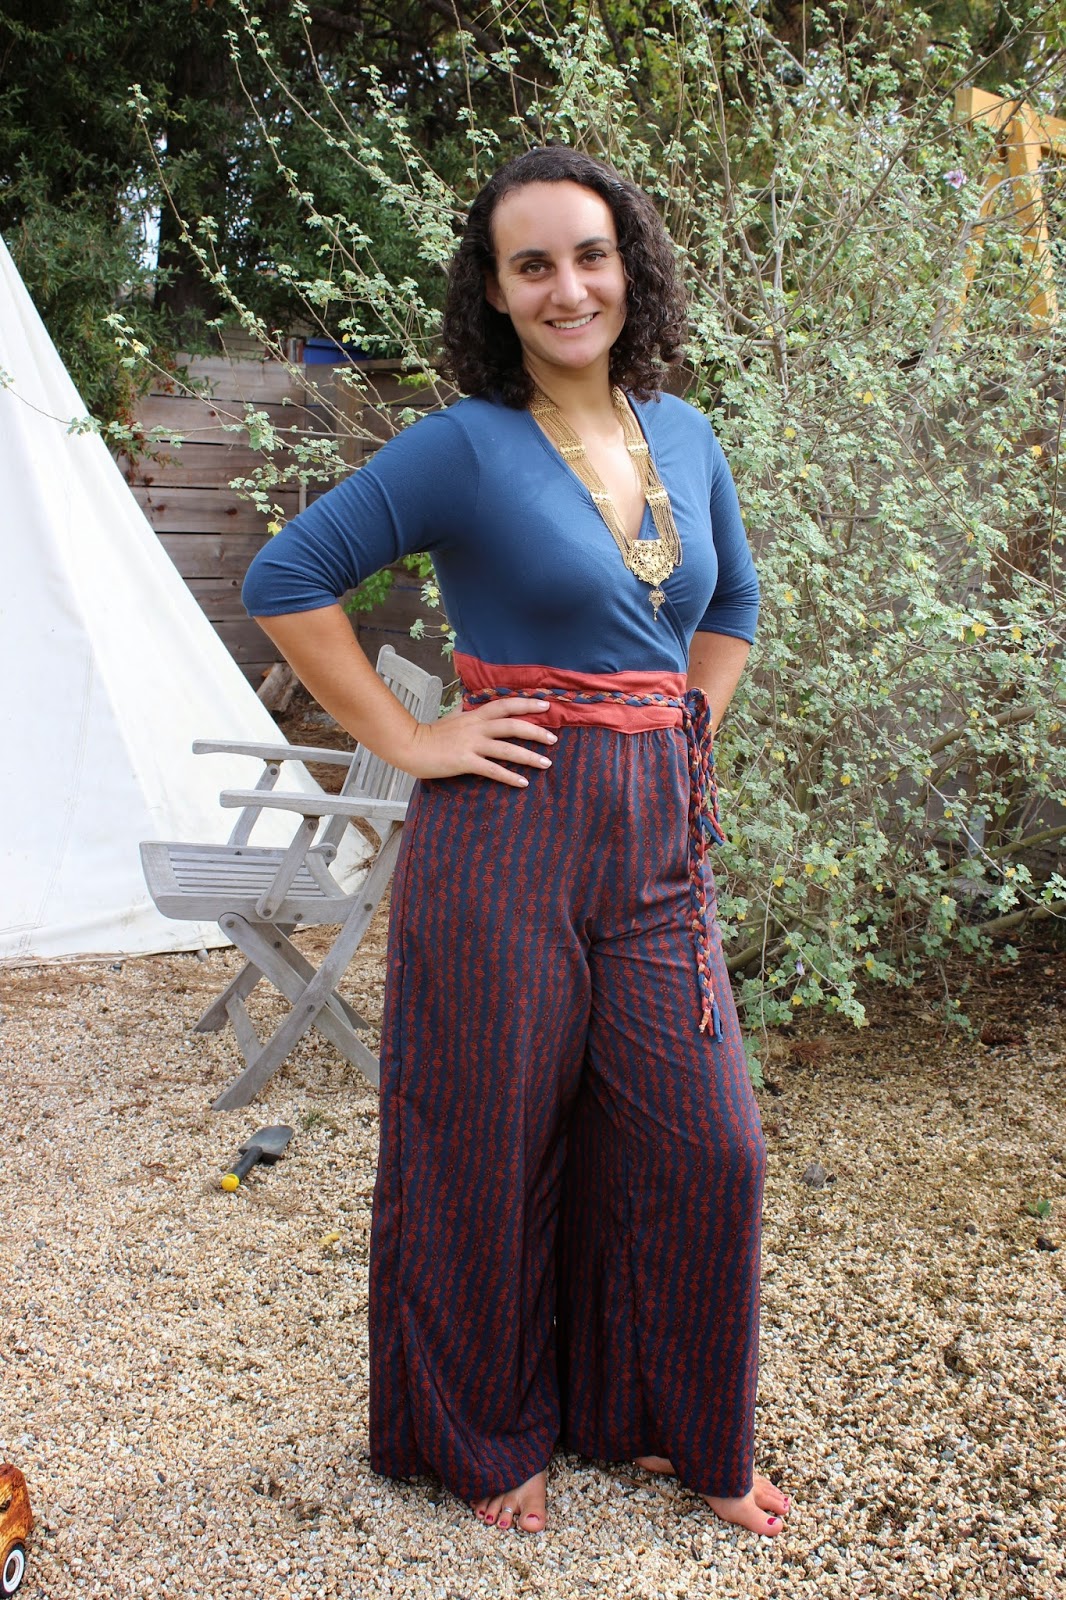
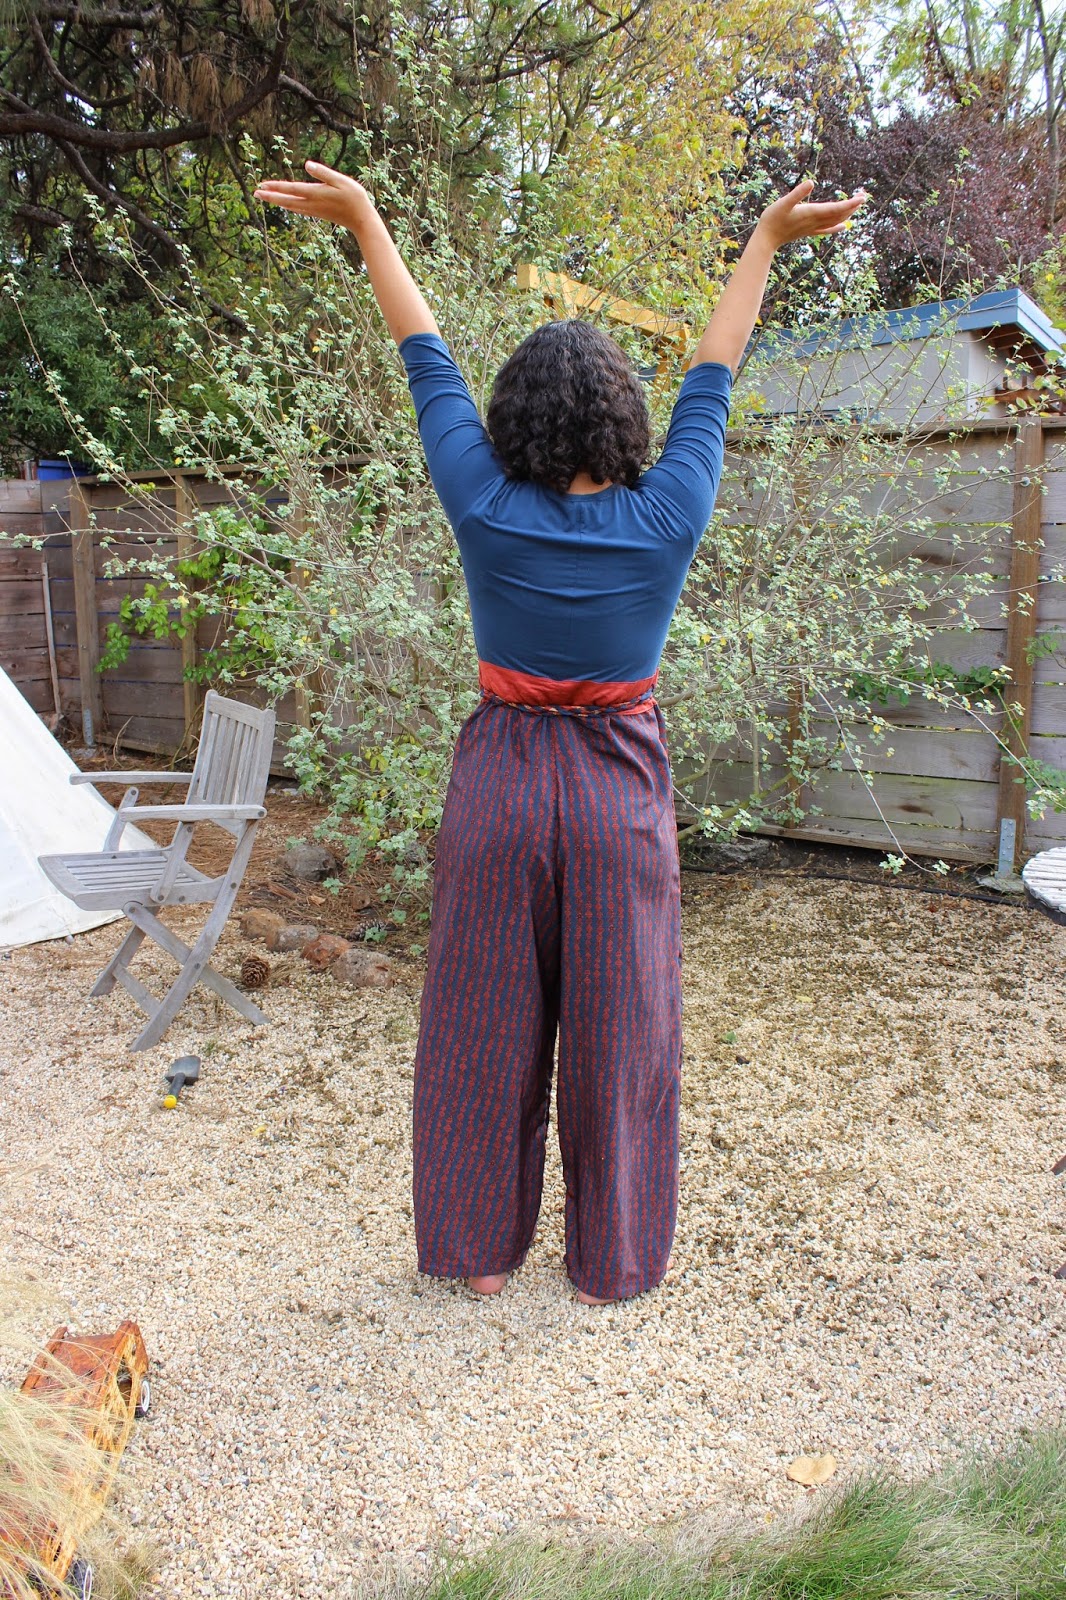
  • Expanding on the navy goes-with-jeans concept, I've added a skirt and a sweater to the plan


I'm also planning on sewing entirely from stash (unless I need something to round out a piece).  Or (as has already happened),  I find myself short of some fabric I bought well over a year ago.  And Oh lucky me - they STILL HAD IT!!!!      (thank you Piedmont Fabrics!)

The state of my mind had cleared up somewhat at this point:
(Biggify to see my brain at work a little more clearly)
You will notice some carefully selected (i.e., somewhat random) silk ties
scattered about - the thought is to maybe use some of them
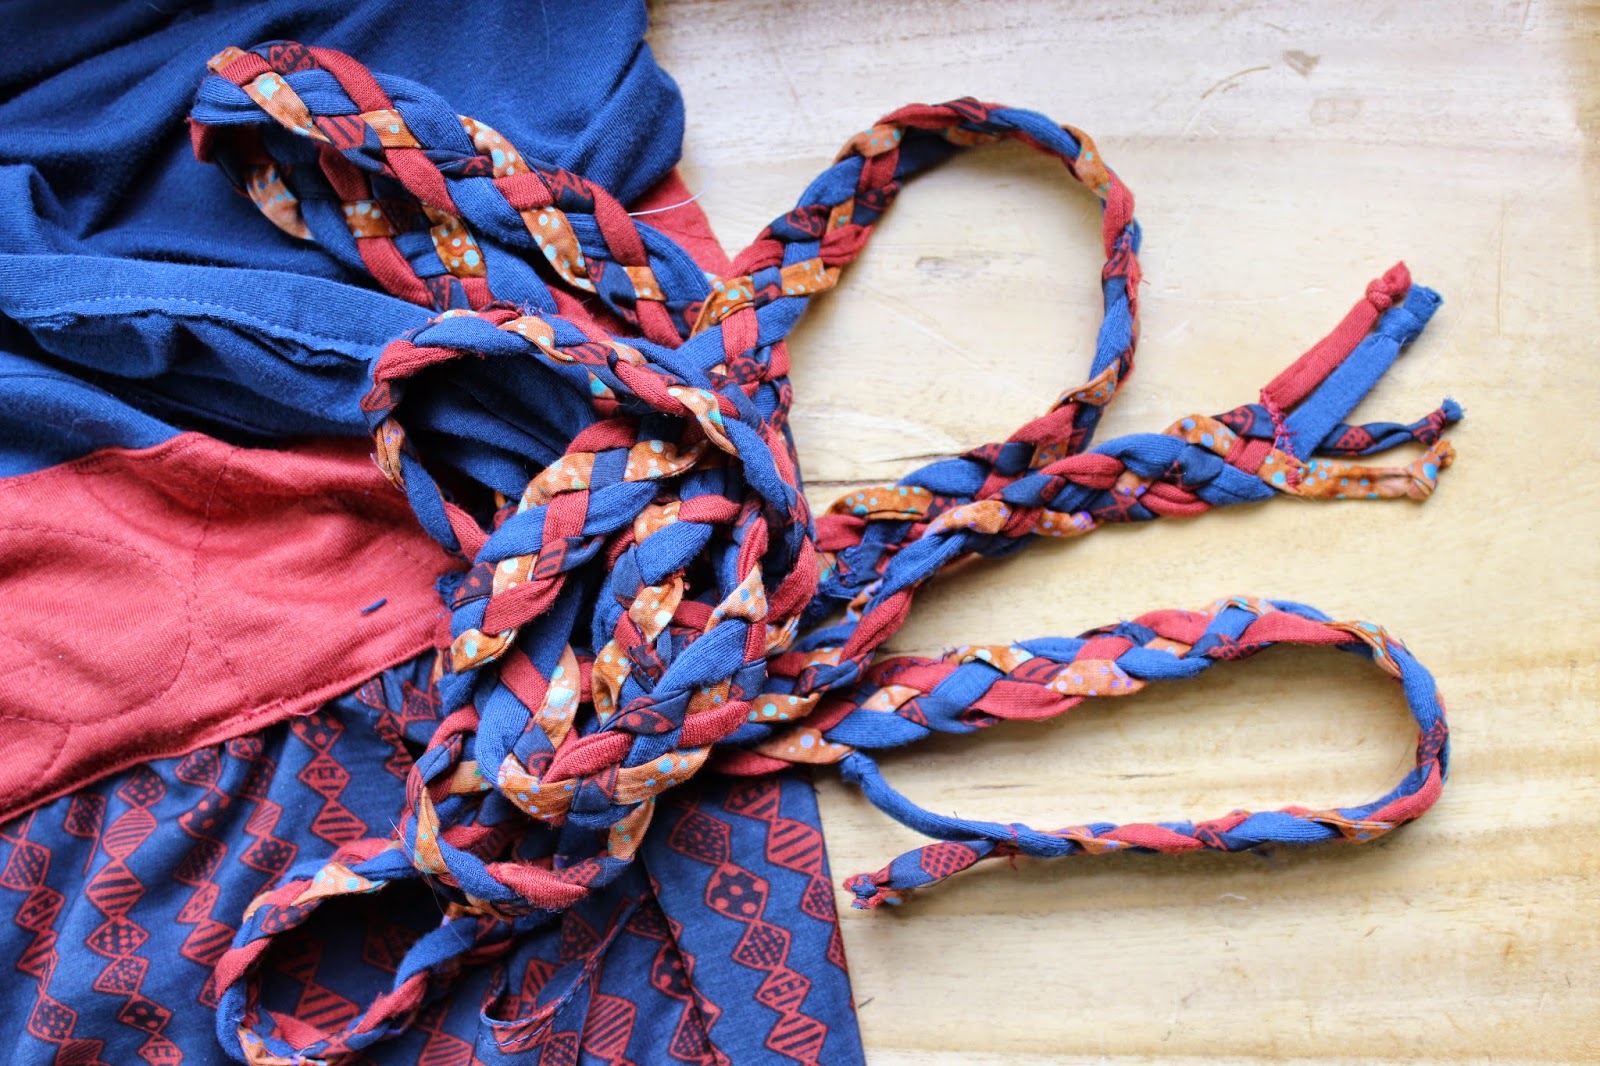
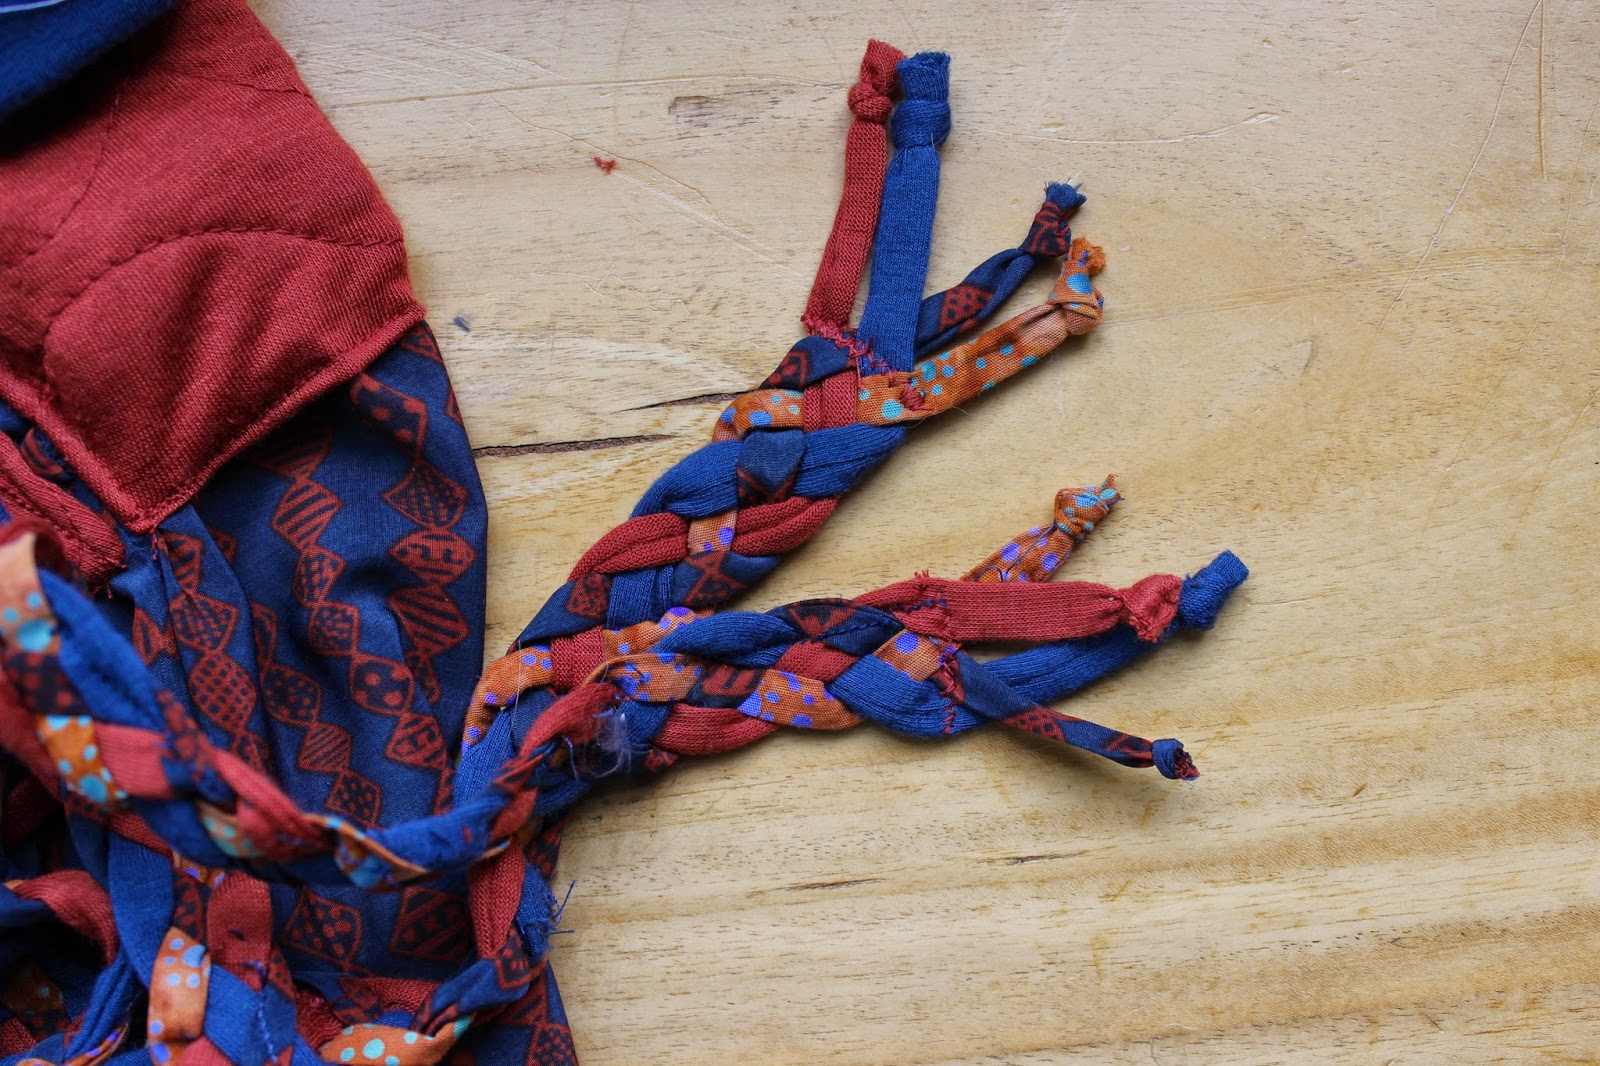
as embellishments here and there....we'll see.....

The REALLY cool bit, at least in my mind, is that 4 of the 6 fabrics I'm using were pieces that I've just not had a clue what to do with, mainly because they were "too special to cut", so I was terrified to do anything at all - you know the syndrome ... right?    I've already cut out 2 of those fabrics, and the Center for Patter Design Spiral blouse is all done except for the buttons and buttonholes, so I think I'm doing well!

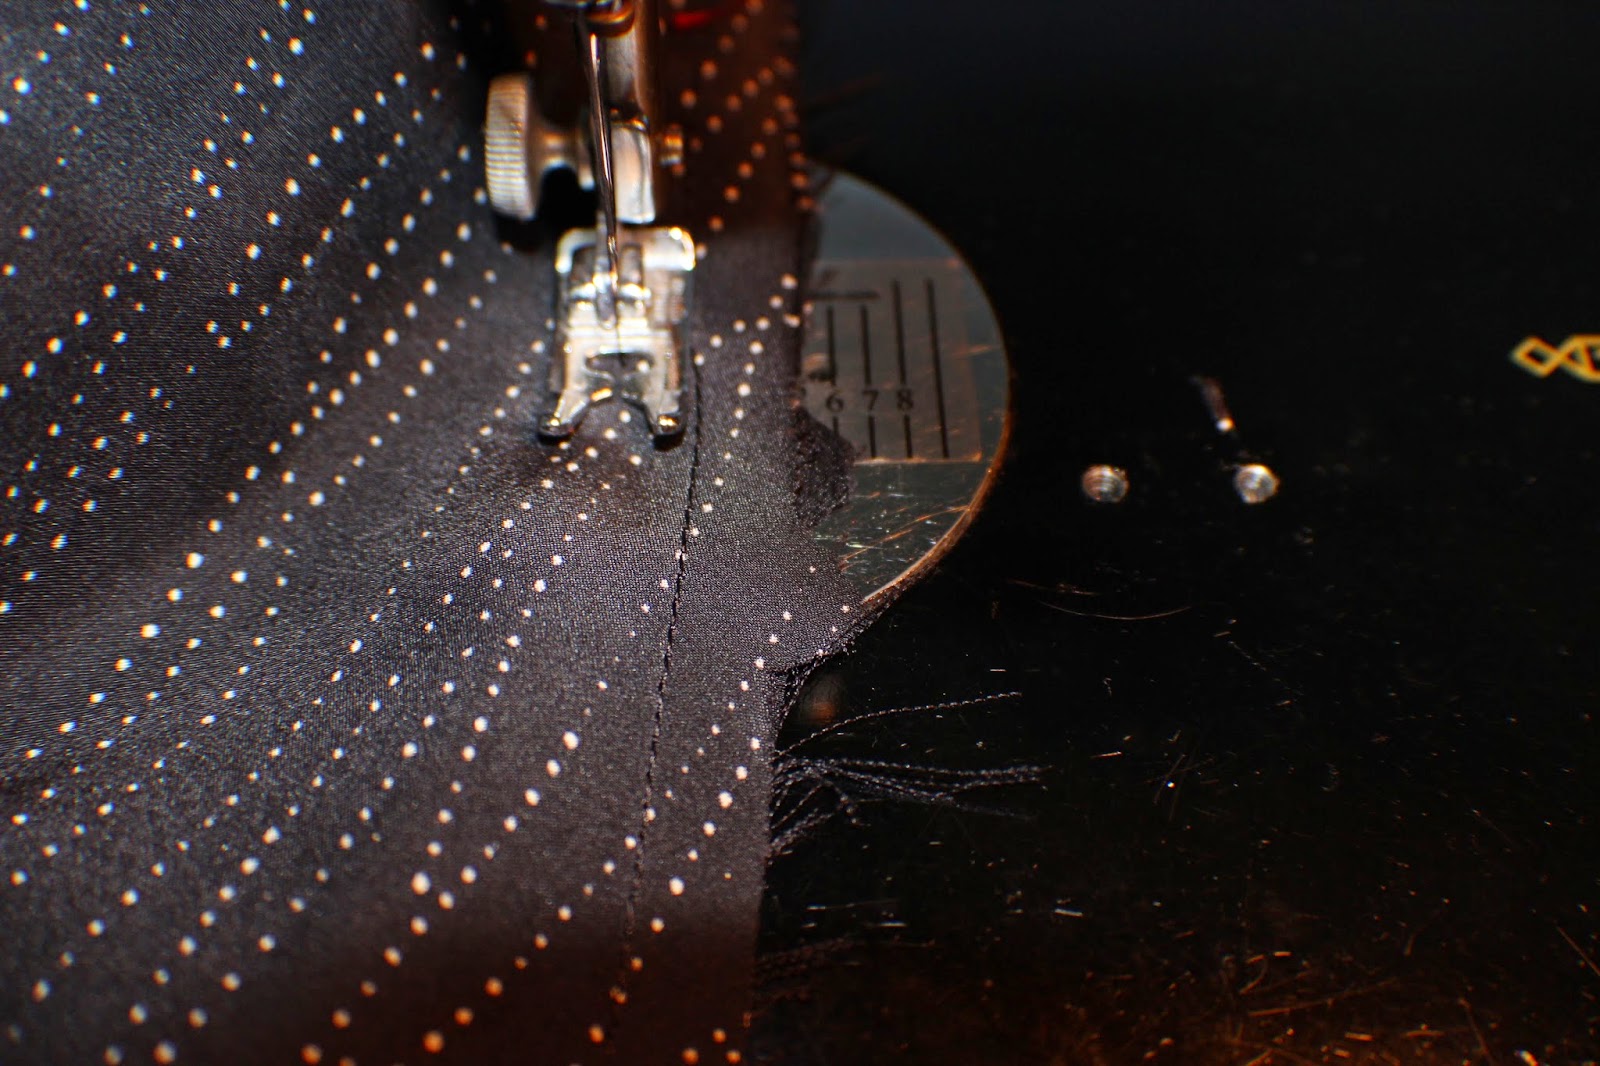
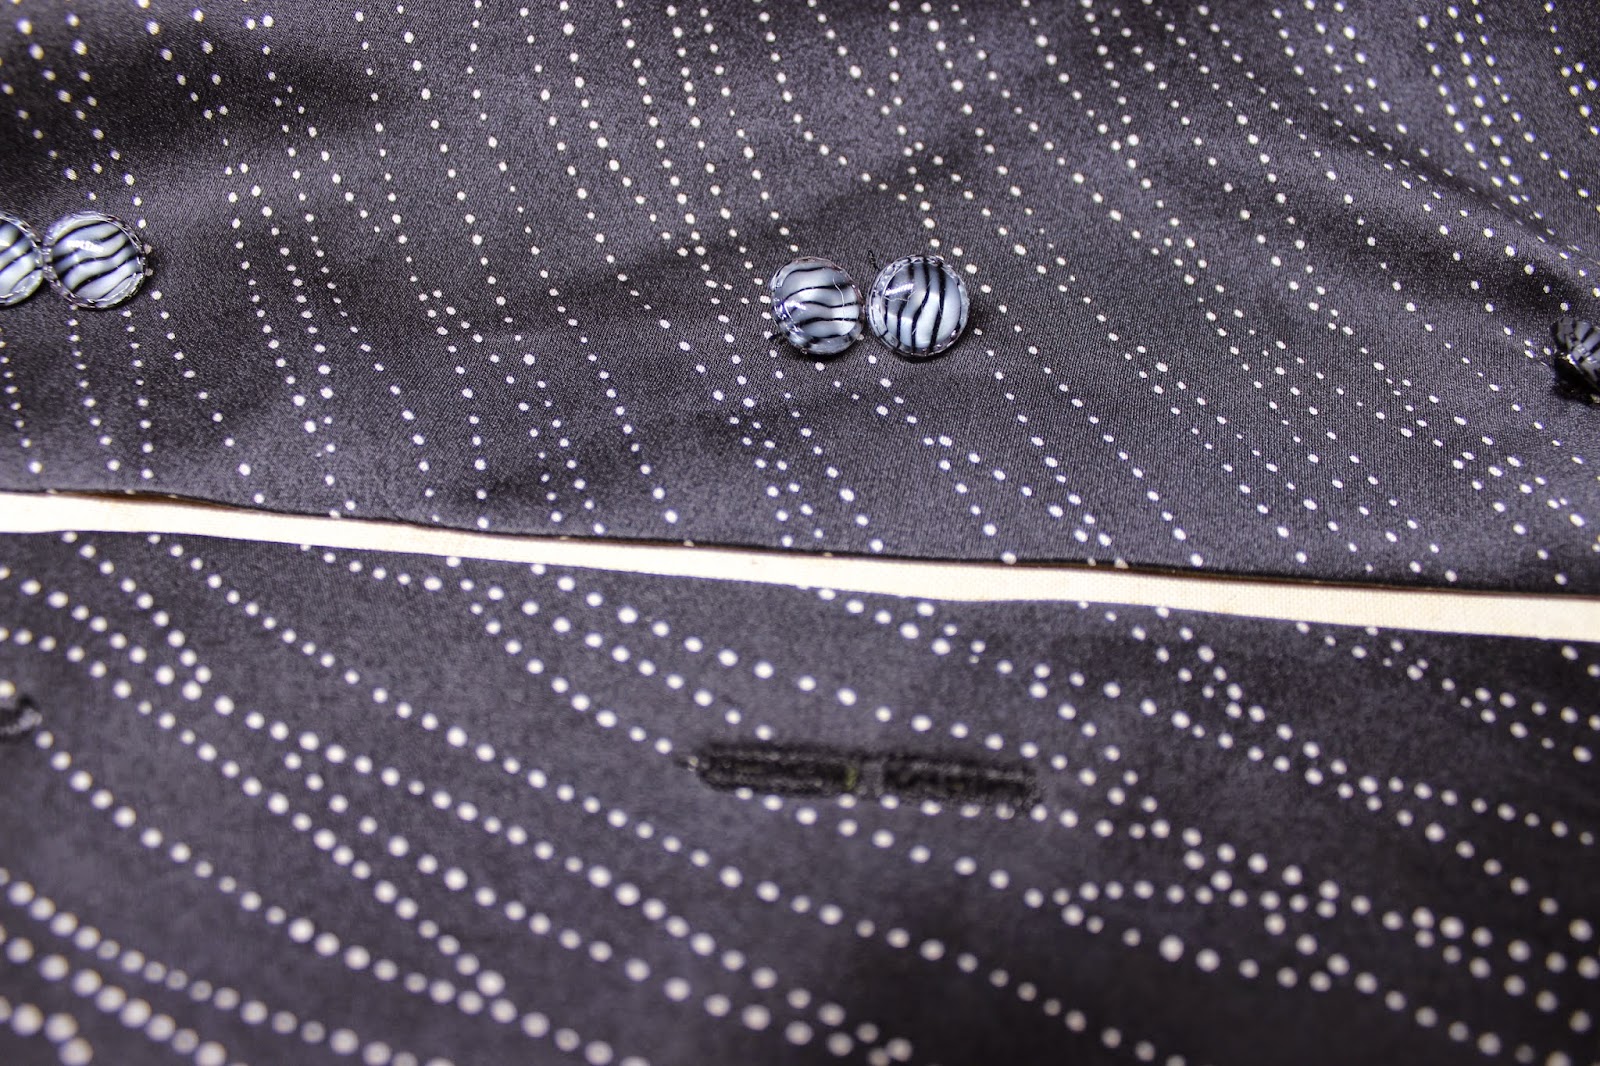
I'm on a roll with the sewing now, thanks to finally finished the jumper project, and having the wonderful support of my fellow seamsters, so you should be hearing more from me in the coming weeks and months :)

How about you and your planning/sewing process?   Do you sew well under the pressure of a deadline, or would you rather meander at your leisure?  And does your sewing process match how you navigate the other aspects of your life?   (these are the sort of musings that sometimes keep me awake at night...)

Tuesday, October 14, 2014

The Self-Drafted Wrap-Top Form-Fitted Jumper with Palazzo Pants (aka: Do Not Try This at Home)

I admit that I'm a decidedly selfish seamstress for the most part, with the occasional project for others thrown in the mix, because, well, as a sewist, that's what's happens.   Right?  The most fun I have (usually) is making something for my darling niece Laurel.   It helps that she's a huge fan of everything I make, and that she's super fun to collaborate with, with her own developing sense of style and willingness to step outside the box.   And a shapely young body to boot.

For her 24th birthday and a going-away present (Nepal for 6+ months!), I wanted to make her something she could travel with....and the collaboration began.

She decided she wanted a jumper.   No problem, says I.   With palazzo pants.   Can easily be done, I says.  And a wrap top. Umm....OK.  Tight.  Very tight (show off said shapely, curvy body, after all).   Knit wrap top, silky palazzo pants, body-hugging jumper.

Did I mention the tiny waist and the curvy hips that said jumper must fit over while donning?.....my darling Laurel, some of the requests you may be granted, but not all at once.

Off I go searching for a pattern to use as a jumping off point.   There is no such pattern to be found (at least in my search).   I wonder why?   Undaunted, I carry on with a T. Gunn "make it work!" attitude.  I used an existing wrap-front knit dress of hers and a complete set of measurements, found the fabric, grabbed my scissors, and the adventure began.

This was step one:   a combination of all of the fabrics used:


I blogged the process that I used to create the 4-strand braid Here.

I have spared you all, dear readers, with the journey that I took creating the finished look.   You may thank me for that, because who wants to commiserate with angst?   The fact that she lives a couple of hundred miles away and we had a total of 3 fittings (plus one more, and then just one more, and then one final one before the final final final fitting).

There was a point towards the end when I realized that, if it didn't fit at all, it could magically turn the jumper into a pair of awesome palazzo pants, and I did start breathing more easily, knowing there was a simple save out there, just in case...  But we all survived!

Since there were so many fits and starts, taking progress pictures really wasn't even an option without writing a book, and as you may have noticed, just getting a simple blog post written on a regular basis just ain't happening lately, so I'll just jump ahead to the final pictures:

The braided belt, the bamboo knit top, the knit under-belt thingy, 
and the palazzo pants from a ploy silky:


Ready to Travel the World!:

And/or dance the night away....

...looking comfy and chic....


Ready to stand on the mountain top and teach, and learn, 
and experience the glories of the world!

The Designer and the Recipient:

The Designer, the Recipient, and the Bug:

The final result was not constructed with perfection, but it fits, it's comfy, it should travel well, it can be dressed up or down, and best of all, Laurel loves it!   So was it all worth it in the end?

You betcha!

Farewell my darling Laurel - wear it in good health and with a smile on your face, and return home from your adventures safely and filled with great stories!   And maybe I'll see you next year in Kathmandu......

Thursday, September 4, 2014

The Invention of Wings

Story Quilt sewn by Harriet Powers, 1837-1910
On Display at the Boston Museum of Fine Arts
This post is a little bit about sewing - specifically hand sewing and quilting, but it's more about a book review (the sewing story is in the book).

I let go of my formerly voracious appetite for books some years ago (too many non-fiction studies got in the way of reading for the sheer pleasure of it, I fear!).  One of the wonderful aspects of going through a drop in physical energy this past year has been a return of that appetite, and the plethora of excellent literary novels (my favorite genre) that's built up during my absence from fiction will hopefully sate me for some time to come!

I just finished the last page of "The Invention of Wings" by Sue Monk Kidd, and I'm compelled to write about it here for a couple of reasons.  Fine hand sewing, millinery, and most of all quilt-making threads its way throughout the novel, and a couple of the quilts are actually major characters in the story.   All of them were sewn by slaves in the 1800's.

Which leads to the other reason I want to encourage the reading of this book.   It's an important book in that it tells the (thickly fictionalized) story of two of most famous American woman that you may have never heard of, Sarah and Angelina Grimké.  They were well known (either deeply respected or despised) throughout the States in the late 1830's as leading and vocal abolitionists and women's rights advocates.   Born into an upper class family of slave owners in Charleston,  the sisters managed to find enemies in many areas of society, religion, and even in the Northern states, with their beliefs that women and slaves were people too, who deserved equality with white men.  (Have we come a long way yet, baby?)

The story is based on numerous factual events, with Kidd creating her story by fleshing out the personal lives and thoughts of Sarah and the slave girl she was given by her parents when she turned 11.    There were only a few written known facts about Handful (the slave girl's) life, so her story is nearly all made up by Kidd, but the intertwining of the 2 girls' stories, along with Sarah's sister and other important people in their lives, makes this a book that anyone with even a remote interest in American history and some of the events and attitudes leading up to the Civil War would be well served by reading this book.

I appreciate the 'Author's Note' at the end, wherein Kidd differentiates the factual from what she made up.  But then, I'm the sort of person whose first action after seeing a biographical movie is to look up what really happened.

Kidd states that one of the quilts in her story was based on the "story quilts" of Harriet Powers.   There are 2 surviving quilts of Powers', the above pictured  quilt in Boston, and the following quilt, apparently not currently on display, but it lives at the National Museum of American History

Harriet Powers

The Sisters Grimké
Angelina on the left, Sarah on the right

If you've read the book, let me know what you think - if you haven't, what are you waiting for?  ;-)  By the way, for other readers (I know there are a lot of you in the sewing world!),  Beth of Sunnygal Studios wrote a post recently asking for book recommendations - if you're interested, check out the responses - lots of good suggestions!  One of the fun followups to this is that we both happened to be at a sewing group meeting at the Berkeley Library shortly after  her post, and after the sewing meeting, several of us hung out and talked about...no, not more sewing...books!

For now, here are a few more modern, extraordinary quilts for your viewing pleasure:
Judith  Roderick
Midnight in the Garden of Iris and Cats

Timna Tar
Endless Chain

Ellen Mashburn Place
Billy's Bluebirds

Sharon V. Rotz
We See They See

Although I'm not a quilter, I have participated in a couple of group projects - a kayaking themed quilt with a group of fellow yakkers (back in the day....), and a beautiful square honoring a friend for the AIDS Quilt Project.   Both projects were fabulously memorable!

If anyone knows of a local display of beautiful quilts, please let me know - I'm definitely up for some ooohing and aaahing over them!


Monday, September 1, 2014

A Self-Drafted Simple Top......Did I say Simple?

Remember the teaser fabric from a post last month?

Here's the finished project:

Folded over, slice a neck line, rolled hem on the edges, & sew up the sides to make a butterfly-wing thingy sort of side seam.

Simple, right?

Right?

I was telling a sewing friend about the issues I encountered in the process, and we discussed the problems with self-drafting a piece.  For me it's not so much about fit, or even figuring out how to do a step (although those DO present issues) - it's more about the sequence of when to do step 1, step 2, etc....

In this case I cut a boat neck slit for the neck - I had made a muslin to figure out the size & shape of the cut - no problems there.   Then I got all wrapped up in how to do the binding and have it lay neatly at the corners where the neck line made a sharp V.   When I finally figured out exactly how I wanted to do it, and started sewing it up (by machine) I panicked when it started the dreaded binding bunching...you know, those tiny little folds in a poorly made binding.... and realized I'd left out the Very Important Step of grading and clipping the curve.

:::sigh:::

If I'd been following a pattern - even one with minimal instructions that just said "bind the neckline" I would have clipped that seam, but because I was focused on something else...well...I ended up sticking my tailor points into the binding and clipping as I sewed.   I do not recommend this, but at least it worked, and I have a nice flat neckline :).

I did a rolled hem on the side edges with my trusty vintage Singer 101 and the rolled hem foot.   I'm fairly confident in my friendship with this foot by now,  and ended up with a pretty nice finish there.

For the side seams, I sewed a straight stitch from hemline to a point just high enough to hide any bra peek-a-booing, about 5" in from the rolled hem edges.   The bottom hemline was the selvedge, front and back, so I let it be.

I probably cut a total of 6 sq. inches (give or take) from the neckline; otherwise every bit of the fabric was used!


One of the most important parts of the process in the making of this top was enlisting the vision of sewing friends.  A group of us got together with a topic of bringing a problem fabric to share and get help on - something we just didn't know what to do with.   I knew I didn't want a scarf from this fabric (that would be too easy),  and the collective creative minds of my sewist friends came up with the idea of this simple tunic top with the butterfly sides.   They nailed it, don't you think?   Very thankful that I'm in a community with so many helpful, creative, and talented sewing friends!

I leave you with today's fortune cookie.   Because I like it.  :)

What are your issues and/or tips with self-drafting your own pieces?   Or if you are a pro at it, what sort of guidance would you give those of us who venture there occasionally?

Happy Labor Day, all, and I hope you all had a taste of what nature has to offer this weekend.  :)


Monday, August 25, 2014

Dressing for Yoga (not actually DO-ing it...)

Yoga pants are a good start to a practice, yes?  No?   I used to practice yoga, once upon a time - semi-regularly, even, but now....well....how about if I just make a pair of yoga pants?

Style Arc's Becky Yoga pant

I have a number of Style Arc pants patterns, and absolutely love every pattern I've used!   Mine are all size 10, which fit well before I lost a few pounds this year, so I wasn't too sure about the fit of the yoga pants. When I laid a well-used pair of yoga pants on the flat pattern, it looked like the 10 would be a good fit though, so I cut them exactly per the pattern (even though all of my other SA 10's are currently a little bit on the loose side)

Thank goodness I didn't order a smaller size!   With the negative ease, coupled with a pretty sturdy and semi-stable knit, these pants are snug!   Very snug.  Snugger than I'm usually comfortable wearing, but with a long top they're great :::whew:::.   They were actually a perfect fit when I first made them, but I've gained back a few of those pounds on my healing journey, so now...well, did I mention how very snug they are?   A healthy dose of vanity makes me almost leery to post the pics, but here goes:


What I love about this pattern:


  • The now-famous Style Arc fit.  (weight loss & gain aside...)
  • Super quick & easy make!
  • One simple patch pocket, perfectly sized and placed.
  • Just the right amount of flare at the hemline.
  • Just the right width of the waistband.
What I dislike:

  • Ummmm......nothing?
There's really not a lot more to say.   This is, simply put, a simple and perfect yoga pant.  I'll make it again in a fabric with more give, which should give a slightly looser fit, and I'll probably make it again after that.   And again.   It's that perfect!

A note about the shoes I'm wearing - I went on a bit of a shoe-buying binge last January, and in order to bring an order up to the free shipping category, I added these Campers .    The link goes to gravitypope, and they still have this style!  By the way, if you keep your eye out, you can occasionally find a coupon sale for gravitypope, which will discount even the sale prices further - that's what I did & actually got a reasonable price.

Campers is a brand I've never had before, but it got great reviews, and for good reason!  Reeeeeally comfortable right out of the box.  And better than that, check out the motif!!!   Love love love!!!!
(pardon the garden dust - I could have cleaned them up before taking the pics, but...well... I didn't.)


Maybe I'll go do a little yoga.    

Tomorrow.

Sun salutations in the morning, anyone?

P.S.   For those who are wondering, I slept right through last night's 'quake, and nary a picture on the walls budged a bit.   I do know a few people north of the immediate Bay Area who experienced some damage and would appreciate some positive thoughts coming their way, but we've experienced far worse than this...and survived quite nicely :).

Saturday, August 23, 2014

Center For Pattern Design - Spiraling In Control!

The intrigue of the Center for Pattern Design's creativity absolutely captivates me!   When Sandra Ericson spoke at Canada College's Artistry In Fashion event last year I was hooked!   I bought 3 patterns, all inspired by Cristobal Balenciaga (a genius!).

My first make was the CB Bolero,  blogged here.   I have mixed feelings about this one, only because it's a little dressy for me, and also a little fidgity, so it doesn't really get that much wear.   The CB Spiral Blouse, however, is another matter - totally wearable, and in spite of the unusual design, it has a lot of possible ways to change it up.   Buttoned & closed, no buttons & open, drapey or stiffer fabric, collar, no collar, long or short sleeves - shams even made a knit top from it! 


One of the amazing aspects of Ericson's designs - her focus, really - is that she uses as few pattern pieces as possible & puts the seaming together in totally unique and ingenious ways.  The spiral top has one pattern piece, and if your fabric is wide enough, you can cut the entire top from ONE piece of fabric - rather mind-boggling, if you ask me!  I would take a pic of the pattern piece, but I have vague memories of someone getting in hot water for doing that, and I don't think it's fair or appropriate to the designer anyway.  Just trust me, it's impossible to imagine the finished product from the flat pattern piece without instructions - at least my brain certainly doesn't work that way!  The first time through I really stretched my mind muscles just figuring out how to put it together WITH instructions!

The description from the pattern: "This full scale pattern is fashioned after one demonstrated by Salvador who managed Monsieur Balenciaga’s tailoring atelier during the Golden Age of Couture in the mid-20th Century. It is a single bias-cut pattern piece which comprises the front, back and spiral sleeve of an easy fitting top. The back hangs in a cowl at the hip and there are no side or shoulder seams. It may be worn open or closed in front. Fits 8 - 16 with adjustments.
This pattern is is appropriate for intermediate or advanced skills."


The pattern itself comes in one size (Medium), and adjustments are made along 2 lines marked on the pattern piece. A muslin is recommended, since it's hard to tell how it will fit just looking at the pattern piece. The entire top is cut on the bias, so even if you have the sizing down in one fabric, another fabric may behave differently with a bias cut.

Step one is figuring out the layout of the pattern on your fabric.  With short sleeves, you might be able to use one solid piece of fabric.   With long sleeves, you probably will need a center back seam - it took me a bit of maneuvering to match things up & still fit it onto my (JUST big enough) piece of fabric!  In fact, Step #1 of the pattern instructions say, and I quote, "Study the pattern diagram carefully...."

Uh huh.

Instructions are fairly minimal.  To give you an idea, the last 2 steps are 
4. "Finish hems as you wish." and 
5.  "Finish CF closure as desired."

Be forewarned.  

Construction Notes:  Mark the dot at the underarm carefully (once you've figured out just where the underarm is...seriously, it does not make immediate sense!)   This dot you need.   The notches and other dots are handy more for placement guidelines than for exact seam matching.   These pics may (or may not) help:
 Matching the dots (tailor tacked with red thread) at underarm:

Biggify the pic and note that the notches do NOT match up.
This doesn't matter - as you sew the seam, just let the fabric come together where it wants to,
you can trim the bottom of the sleeve later.

The fabric I used was a yummy silk charmeuse, which worked great for this pattern.   I also used a thin cotton for my toile, which turned into a wearable piece (sorry, no pics of that one).   I've seen it made up in a number of different fabrics; the choice is very versatile!   The pattern calls for "softly woven wools, silks or cottons; wool or silk crepe, crepe-backed satin, silk velvet, georgette or chiffon, medium weight rayons and novelty fabrics with bias elasticity."   LOTS of choice here!

Here's how the center back comes together:

I decided to use double buttons and a single buttonhole with a bar tack in the center.
I started with a machine made bar tack, but ended up doing it by hand:


The finished piece:


The wind blew my collar into odd positions.   I'm way too lazy to redo another photo shoot, and if that's how it's going to lie, then so be it!  

I've already worn this one several times, and will likely make another version or 2 of it.  Love the fabric, love the design -  thumbs way up for this pattern!

Monday, August 18, 2014

Two Teasers and a Tutorial for a Flat Four-Strand Fabric Braid

I do have a few more finished objects to blog, but new projects are just more exciting, so if you can kindly bear with me through some teasers for what's coming up, I'll get to those FO's soon.  er or later....

Ignore the Teaser at the Top:


First up, I'm mixing four fabrics for a birthday present piece for my darling niece, who is SO much fun to sew for!   For one thing, she loves my work (play).   For another, she's a fabulous collaborator who comes up with some great ideas.  She wanted me to incorporate some braiding in her present, a technique I used on a previous piece for her.

I wanted to do a flat, four-strand braid, and had a bit of a hard time finding a tutorial for this that was both easy, and had a good-looking finished project, so I thought I might as well create my own tutorial.

First I created 4 tubes, using this handy-dandy little bodkinish sort of tool (does it have an actual name?  Anyone?)

The end has a loop and a pointed thingy on a hinge
(thingy is a valid technical term - you all know that, right?)

I cut my strips of fabric 1" wide, then folded and sewed the long edges for 1/4"+ tubes.
After sewing, I trimmed the excess seam allowance.
I used a combo of knits and wovens -  the 2  knits were super easy to turn;  
the batik (a quilting cotton) - not so much.
The polyester slinky was also a bit of a problem because the edges frayed so badly!
I cut all of the fabrics on either the cross or straight grain, depending on the stability of the fabric.
I  didn't have enough of any of the fabrics to cut them on the bias, but I really didn't want too much stretch in the finished piece (a braid, as shown below) anyway.
In most cases, I would recommend cutting the tube fabric on the bias.

After sewing the seam of the tube, I cut one end in a point and added some Fray Check to it.

You then push the bodkin thingy into the tube, and push the point through the fabric, 
about 1/4" from the tip of the fabric point.
With the knits, this is easy.   
With the wovens, I ended up snipping a teensy tiny hole in the fabric in order to push the metal point through.

Then you pull the fabric all the way through the inside of the tube, 
praying that the point of the bodkin won't lose its grip before you're done. 

Praying does not always work.

Constructing the Braid

Sew the 4 tubes together at one end, and pin them to a pinnable surface.
I've labeled them 1-4, from left to right.
As you weave, the position of the tubes will change, 
but the numbering of the tubes will always remain at 1-4, left to right.

 Bring Tube #4 over #3

Bring #1 UNDER #2, and OVER #3 (the new #3)
I find it easier to treat this as one move, rather than 2,
because you're really only moving one of the tubes.

And that's it!!!
Really.
All you do now is keep repeating the above 2 moves.
The new #4 goes over the new #3

#1 goes under #2 and over #3

Keep repeating this sequence,
and be sure to keep the tubes flat as you weave - don't fold them over so that the bottom becomes the top - the bottom of the tube (i.e., the part that is touching the table...or in this case the ironing board, will always stay on the bottom.


And when you run out of tubing or have reached your desired length, you're done!

I had NOT reached my desired length, so I had to add more tubes.   I folded under one end of the woven fabrics and inserted the other end inside the folded tube.   For the knits, I didn't bother folding under a hem; I just used fray check.  I didn't worry too much about appearance of the joined tubes, so instead of hand sewing them, I just attached them with a sturdy zig zag.


The semi-finished pieces:

It may take awhile before the reveal, since the recipient doesn't live nearby, so fittings will be few and far between.   I will say one thing - this is a totally self-drafted piece, creating something that isn't even remotely like anything I've made before, and if a pattern for something close to it exists, I haven't found it.   So wish me luck!

Back to the Teaser at the Top:

This is a GAWjuss cut of silk charmeuse - a remnant that I have less than a yard of, 54" wide.  One of my sewing groups recently had a little brain-storming session where people brought fabrics that had them stumped as to what to create with them.  My wonderfully creative friends came up with JUST the thing for this piece.   Stay tuned for the solution...  (what do you think you would do with it?)

Meanwhile, Happy Creating!