It's about exploring and sharing my creative adventures (mostly sewing these days) ~
~those activities that sometimes obsess, usually inspire, occasionally frustrate
~and always provide a delightful maze to wander through.

Thursday, July 31, 2014

Urban Burp and the Vintage Chenille

Urban Burp.   How can you not be totally intrigued by a store called Urban Burp???  Yes, it's real, and yes, it is indeed intriguing!   Especially if you love vintage fabrics (the real stuff, or the wannabe home deco stuff).    
Electra Skilandat, the owner, says this about the name:  The fabric will produce "an 'emotional burp' of recognition because, inevitably, it was used in a curtain or couch in a family home and carries a wealth of memory.  All that emotion has been shoved down into the lower chakras and all of a sudden it takes one piece of fabric to bring you back to that place."  How charming is that?   And of course, any store owner who references chakras has my attention already  ;-)

Urban Burp used to have a store front in San Francisco, near the legendary City Lights bookstore.   Rising rents forced them out, and they moved in to a warehouse in Point Richmond, not that far from my house (how thoughtful of them!)   I didn't really frequent them a lot, because most of the fabrics are home dec, not to mention pricey for the real stuff!   But they had a moving sale a few months ago, which I HAD to go check out, of course.  I'm pretty sure I went a tad bit over budget, which was really zero, but hey...you know how it is with fabric..., and of course there were a few pieces I just couldn't resist...


I think this one is a newer fabric, but I love the retro look and colors.
I may use it as cushion covers and machine covers in my sewing room.
Maybe.

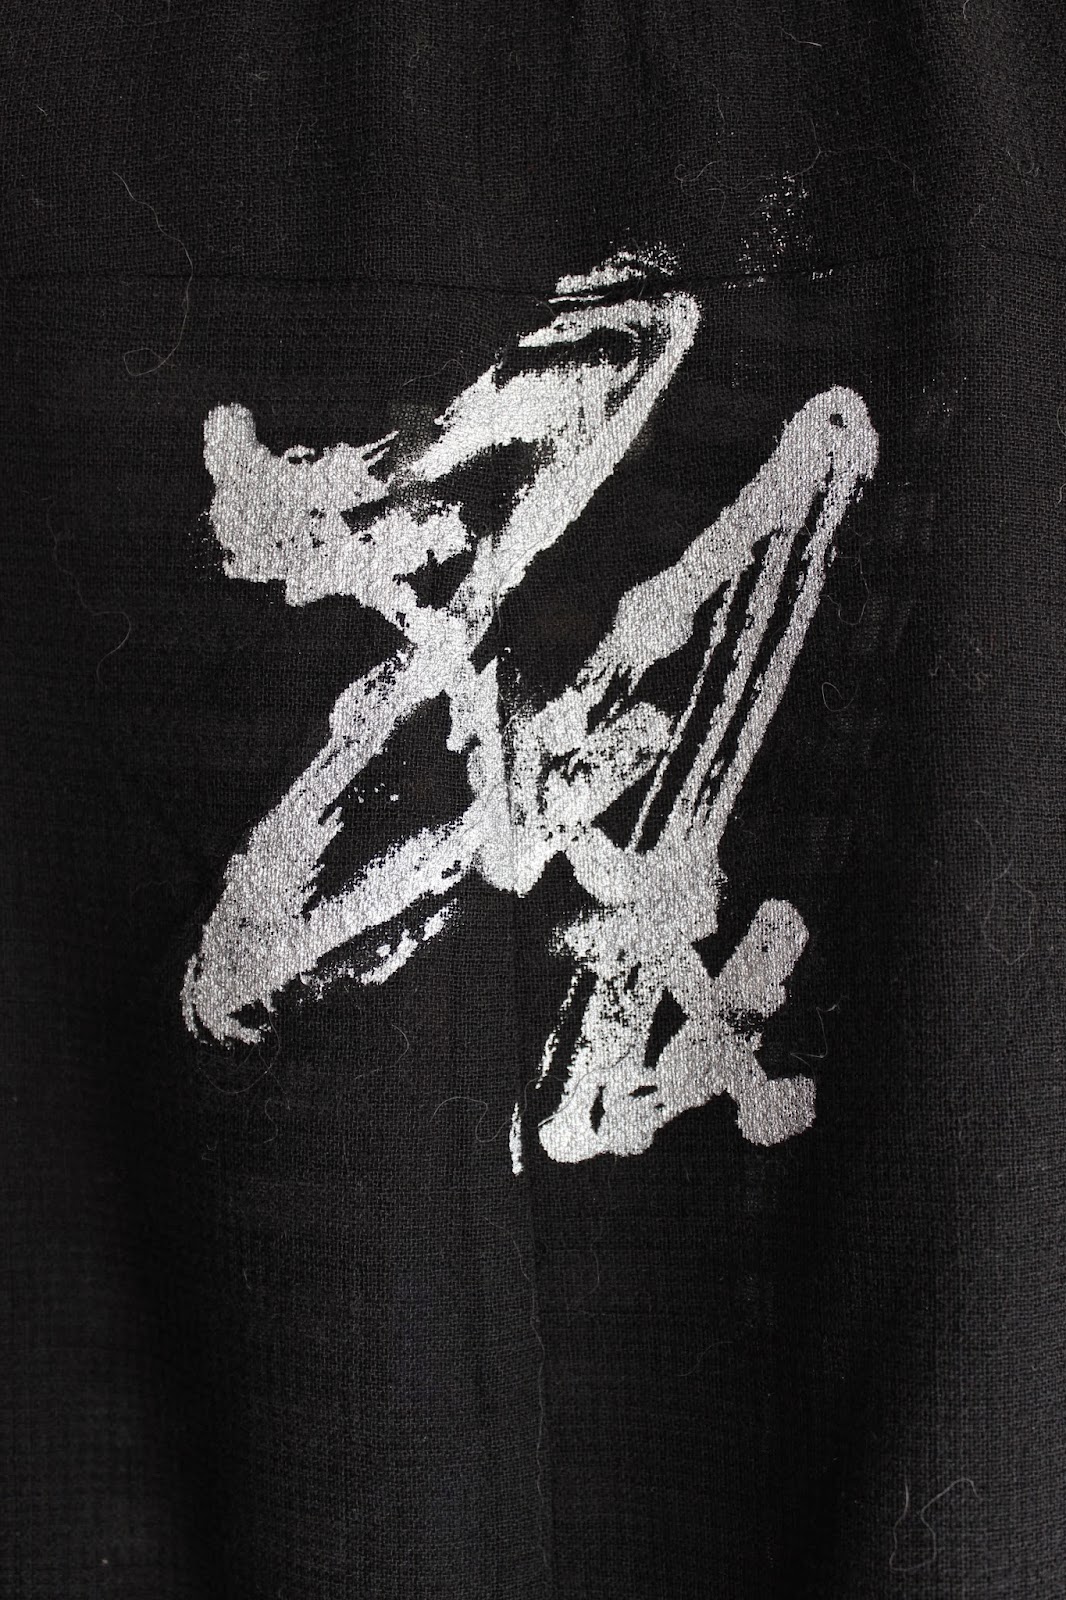
This is a linen gauze from the 60's.  
No CLUE what I'm going to do with it, but something made me adopt it anyway...

A few smaller mid-century sample cuts that I just couldn't resist-
Memories of Melmac (remember Melmac???):

SO Hawaiian:

And my favorite fave - oh how I wish they'd had a bigger cut of this!

Oh yes, and the referenced Chenille Bedspread! (twin size):


I knew immediately that this spread wanted to be on my body as a robe!   It has served its time as a bedspread, proven by the worn - almost threadbare in spots - body of the fabric.  The chenille was still in excellent shape though.    The color wasn't going to work for me - sort of a sickly, faded pale yellow, so off to Dharma Trading I went, and came home with a Wedgewood Blue Dharma Trading Fiber Reactive Dye.  It  was perfect.  :)

Being a vintage bedspread, of course it needed a vintage pattern, and I had just the thing in stash, I think from a pile of patterns that was given to me by a friend who helped clear out the estate of a sweet lil ole lady sewing (don't you just love those sorts of estates?)

I laid the bedspread out on the kitchen floor & played with one of my favorite challenges - trying to fit pattern pieces on a patterned fabric in an attempt to match up all of the bits.   I did it, but just barely!

The finished robe, just right for transitional fall/spring coolness:


Because of the thin, worn areas, it really needed a lining, 
and I found just the thing at Stonemountain and Daughter :)
It's a nice soft cotton, yummy against the skin - can't say the same for the chenille, which 
had that vintage cotton rough feel to it (I do like my fabric to feel really nice against the skin)

I tried and tried to like some of vintage stash buttons with this,
but I just didn't have anything that worked.
I got these cheapies at JoAnn's, but I'll be keeping an eye open for something I like better.
Because, well, Buttons!

Cuddling up in just-right-warmth :)
Do not look at the little stain in front.
Don't look, I said!
(It's egg yolk - it will wash out!)


Do you love vintage fabrics, even though, like me, you don't really make vintage clothes?   Although I do totally love some of the features of vintage clothing, collars especially.  By vintage I mean 30's and 40's, NOT 60's and 70's!   I mean really, hello?   Vintage is BEFORE I was born, not AFTER!   Right?  Although I do swoon over some (some) of the mid-century designs in fabric and furnishings, but clothing?   Not so much...

While we're on the subject, I see that Urban Burp will have a booth at the Alameda Antiques by the Bay this Sunday, August 3.   I could be maybe possibly talked in to a little visit there, if anyone is interested.... just tossing it out there...

Tuesday, July 29, 2014

I. Love. This. Shirt.

It isn't that there's anything super fancy or outrageously unusual about it...well, not by my standards, anyway.   It's just unique enough to stand on its own nicely.   The seaming, hemline and collar are just different enough to stand out.   I don't really know just what it is, but I'm not alone in loving. this. shirt! It took me long enough - the pattern's been in my stash for several years, but when I finally made it up I really got the popularity of it!

It's the Sewing Workshop's Liberty Shirt.   It's been around for ages, and has been raved about by numerous people who like the same sort of clothes that I do. (and some whose taste is completely different than mine, as well!)  People made it and loved it and made it again when it first came out (before my time!), and they're STILL making it and loving it and making it again!   There's just something about it.  The collar looks good worn up or down or lopsided.  The seaming and topstitching can be underplayed  or fancy-stitched.  The cut of the hemline is flattering on a number of different figure types.   It's just funky enough to funk up even more, or it can showcase an elegant fabric and go out on the town.  It can be a shirt or a jacket.   It can be be conservative or ... not.

Yup.  I love. this. shirt!  

I used up some more of my Batik Butik fabric (I think it manages to reproduce in the back of its stash drawer - you just don't know what happens back there sometimes!), and mixed it up a bit with a rayon polka dot that paired nicely with the ginkgo leaves.


The pattern description says this:  "Shirt or jacket has diagonal side seams angled to the front, soft stand-up collar, and set-in sleeves with vent openings. Asymmetric front and back deep hems with mitered corners. Front topstitching detail and five-button closure."   The line drawing leaves a bit to the imagination as far as the look of the finished piece, but the illustration is pretty close:


Here's the collar with the lapel folded out:

Buttoned up to the top:

Side view, with a good sense of the uneven hemline:

Par to the course for SW patterns, the measurements put me partly in a Medium, partly in a Small, and I cut an XSmall, which was a pretty good fit (with a narrow shoulder adjustment; normal for me).

Bear with me as I catch up on the last 7 months of sewing, because I don't remember a lot of the construction details!   What I do remember about this one is that the instructions are excellent (as with most SW patterns), and it went together very smoothly and easily.

Will I make this one again?  You betcha!   Thumbs way up :)

Thursday, July 24, 2014

Making it Work! Skirt. Transformed.


I loved it.  I really did.  But.... it didn't love me.   I'm talking about the Koos Skirt, Vogue 2971, blogged about here.   I loved (and still do!) the fabric, the colors, the combination, the design, the downright FUN-ness of it all!   But.....it didn't love me.

In spite of the fact that I had cut 4" off the length, all that fabric flowing around my ankles just did NOT work in activities like walking up & down stairs, and the bell-shape at the hemline kept getting caught in shoes, and in the end it was just all too much.


Packing for a hot summer get-away, I needed something that would help me beat the heat - like a sundress.  So while playing with what I had, I pulled this skirt over my boobs and said to self, "AHA!!!!   It's not a skirt, it's a sundress!!!"   It did need straps though, both to make it bra-friendly and to keep it secure (something I can't really rely on B-cup boobs to do)

A quick draft of something in between a sleeveless top and straps should be an easy fix, she says to self....

Did I mention that I put a completely unnecessary zipper in the skirt?  Sandwiched between two layers of fabric and sewn in VERY sturdily?    I thought I could just leave the zip in place, but that would be a little too shoddy, so out came the ripper.   A couple of hours of ripping & resewing the seam, an hour or so of drafting the top, some head-scratching time of trying out just how to attach the new top neatly, some adjustments here & there, and a couple of days later (well, that's what it SEEMED like) I finally had a piece that has even MORE fun-ness than the skirt!

I wore it on my hot get-away, and again while delighting in some rare warm Bay Area weather the past few days, and I've been happily gathering the compliments.  :)

SO comfy, and I'll get a lot more wear out of it as a dress
(as long as I can find some warm weather to hang out in!)

Showcasing the FUN-ness :)


Which is ready-made for twirling :)


I had more of the Batik Boutique fabric, which was perfect for the straps:


I was even able to sort of match the top to the skirt, 
so that the pattern flowed as if I meant to do it that way from the beginning ;-)


And, just for fun:  

The above was a shot taken at my friends' import & art store, Shiva Moon, in Nevada City (the heat wave destination).  They don't have a website (Hey, Jagdish & Simone, Why NOT????), but do visit their wonderfully eclectic store on Main Street if you're up in Nevada City :)

Here's to transformations and Making It Work!

Thursday, July 17, 2014

Wool Gauze, Silk Screening, and a Really Long Vest.

One of the reasons I sew is for the ability to create one-of-a-kind, "it's so ME" garments.   My own sense of "this is ME" style has evolved since I started sewing (and is still evolving!)...but that's really another post.   If you've followed my blog for any length of time, you know that one of the ways I make a garment uniquely me is by adding little (and sometimes not so little) embellishments, including silk screening.

I love love LOVE Marcy Tilton's silk screens, and I'm slowly adding to my collection of her wonderfilled, creative pieces.
Marcy Tilton's "Chi" - one of my faves!

My process in embellishing a garment often goes something like this:

1.  Choose pattern & fabric & make garment (this is really 12 or 17 or 39 steps, not including all of the actually sewing steps, but we're only talking embellishment here...)
2.  Realize that it needs a little something extra.
3.  Think about options and play with them (buttons?  Fabric pieces?  Painting?  Silk Screen?  Hardware?  Something totally off the wall?)

Unless a garment is a super simple, straightforward, no changes other than fit piece, (like, say, a simple pair of knit pants) I have an utter INability to visualize the finished piece before I start.   I do admire people who can do that, but it ain't me!   It's the same with decorating my home, getting dressed to go out, even planning my day.   I just don't have the gene that allows me to be that organized with my planning, and I've accepted the fact that I'm just a go-with-the-flow kinda gal.   I am, however, very punctual, and if I make a promise to do something or be somewhere, I'll do it and be there!    I just don't make promises I can't keep ;-)

But - let's get back to the juicy stuff -  the garment!   Sandra Betzina's vest, Vogue 1375.

I saw Sandra's vest in person when she presented at PR Weekend San Francisco, and fell thoroughly in love with the fabric she used - a wool gauze from Stonemountain and Daughter.   I loved the fabric so much that I hightailed it to Stonemountain first thing the following morning (ensuring that I would beat any other PR fabricaholics) and bought ALL they had - which wasn't really that much, really it wasn't....   To my credit, I did share the yardage with 2 other friends - 'cause in the end, that's how I roll ;-)

I also liked the striped edging Sandra used, and I happened to have something similar in my stash (Oh, how I love shopping my stash!!!)  What I did NOT like about her version was the shoulder edging.  I call it  the "gladiator look", and even with my narrow shoulders, it's just not for me.   True to form (see paragraph above), I made up everything else before deciding on how I was going to deal with the armscye edging.

I made Version A in a size B.   Note the pleating and the asymmetric hemline on A - Version B is a simpler design.


Here's my finished pleating:

Both of my fabrics were VERY fray-prone!   Adding stabilizer at the armscye was crucial in this fabric, and probably a good idea no matter what fabric you use.

Once everything else was constructed, I decided to use the selvedge of the edging fabric for the armhole edging:

After that, it was time to play with the silk screening!   I had already made some test prints on my fabric (which is what I usually do)   I placed the test pieces on various spots of the garment until I had the placement I wanted, and then plunged in and printed directly on the finished piece.   Some people think this is bold and a little crazy, and I have indeed made some "mistakes", but as with anything in sewing, my attitude is that almost ANYthing can be turned into a creative opportunity, and I just pretend that I meant to do that (I learned that trick from my cats...if you've lived with cats, you know exactly what I mean!)

The finished piece is fun, and I'm definitely finding places to wear it!


You can see how sheer the wool gauze is here:

I used Marcy's "Riffle" silk screen on the front:


Oh!   I almost forgot to mention!   Sandra B was at the recent Britex event where some of our favorite bloggers presented some short but fabulous talks!  I was wearing this vest, and Sandra zipped up to me during a break to see if it was her pattern or "a really good copy".   She's always a hoot, and one of our local treasures :).   I was delighted that she got to see my version!

I know I've asked this before, but I'm always curious to hear what folks have to say... what is your process in getting to the final version of a garment?   Are you able to see the finished piece in your mind before you start?   Or do you stumble merrily along and let it evolve as you play with the garment?   Or maybe some other approach?

Happy Creating!

Tuesday, July 15, 2014

Linen! I Love Me Some Linen!

Pre-Post Paragraph -  A big, yummy, heart-felt THANK YOU to everyone for the warm welcomes in my previous post - y'all loaded me up with lovingness to spare.  :)  Your comments really warmed up the cockles of my heart!    What a great reminder of why I appreciate this whole community of delightful sewistas so much! 


And now, on to my most recent make!   (In my effort to catch up on all of the belated blog posts, I decided to start from the most recent and work backwards.   My brain just wraps around that concept better than starting from way back when - somehow this seems less overwhelming, and makes sense to me...)

Linen...the super soft, yummy-like-butter, tightly woven (and usually pricey!) sort of linen is one of my favorite fabrics, both to wear and to work with (yes, wrinkles and all!).   I also happen to love lilies, so when a pattern calls itself the "Tesutti Lily Linen Dress",  how could I possibly resist???

The description is apt:  "very figure flattering, comfortable and cool to wear and can be dressed up or down"  It's a simple shift, but the shoulder shaping,  curve along the sides, unique twist and angle of the pockets, and the pleating along the bottom hem all take it that step above and make it special.

Although the pattern describes itself for intermediate or advanced sewers, it's really a pretty quick and easy make.  The pockets have some tricky bits, but there is a tips section on the Tesutti blog that walks you through the process very nicely.  

The fabric was a gift from one of my sewing group fabric swatch/show & tell gatherings.    (And allow me to take a moment to give major thanks that I live in an area that allows me to be part of several amazingly awesome sewing groups!   SO grateful for that!)  I cut a Small, straight off the pattern (no muslin, no adjustments - that was brave & trusting for me, especially since my fabric was irreplaceable!)  I was, however, just a little short on fabric, and in spite of shortening the skirt by 2", and the sleeves by another 2", this happened (in two spots, since I cut the fabric on the fold):


Oops.
I debated as to shortening it by another inch or repairing it, and decided to go with the repair.
Not too noticeable :)


 It's sooooo comfy to wear!
Yeah, wrinkles and all.   I had been wearing it all day when this pic was taken.


The only fit issue I had was in the armscye.   I didn't even realize until I had the sleeves set in that the cap sits over the shoulder, with the seam being much closer to the neck than most patterns - the dress is actually designed this way.    
I just had a brain fart when I tried it on for fit before setting the sleeves in. 
That happens.  (You've had it happen too, right?   Say "Yes.")
I do like the look of the sleeve caps, but need to make some adjustments in the front of the armscye for a really comfy fit.   
The cut is perfect as is for me for a sleeveless dress, and the pattern does lend itself well to a sleeveless option.

Here is the pleating at the hemline - four sections of gathers.  Subtle, but JUST the right amount to make a nice line.

 Showing the unusual twist in the pocket detailing:

The fabric, and the design, allow for a bit of lovely movement:

I'm really liking this pattern!   Linen is the perfect fabric for it, but a nice cotton with just the right combo of drape and crispness, or a cotton-linen blend, would also be fabulous.   It's very well-drafted, and the instructions are detailed and easy to follow.   You can download it ($10) or get a paper version ($25) - mine is from the download so I don't know what the pattern paper is like.

Bottom Line:   Thumbs way up!